门户V2定制-添加待办任务数

场景描述

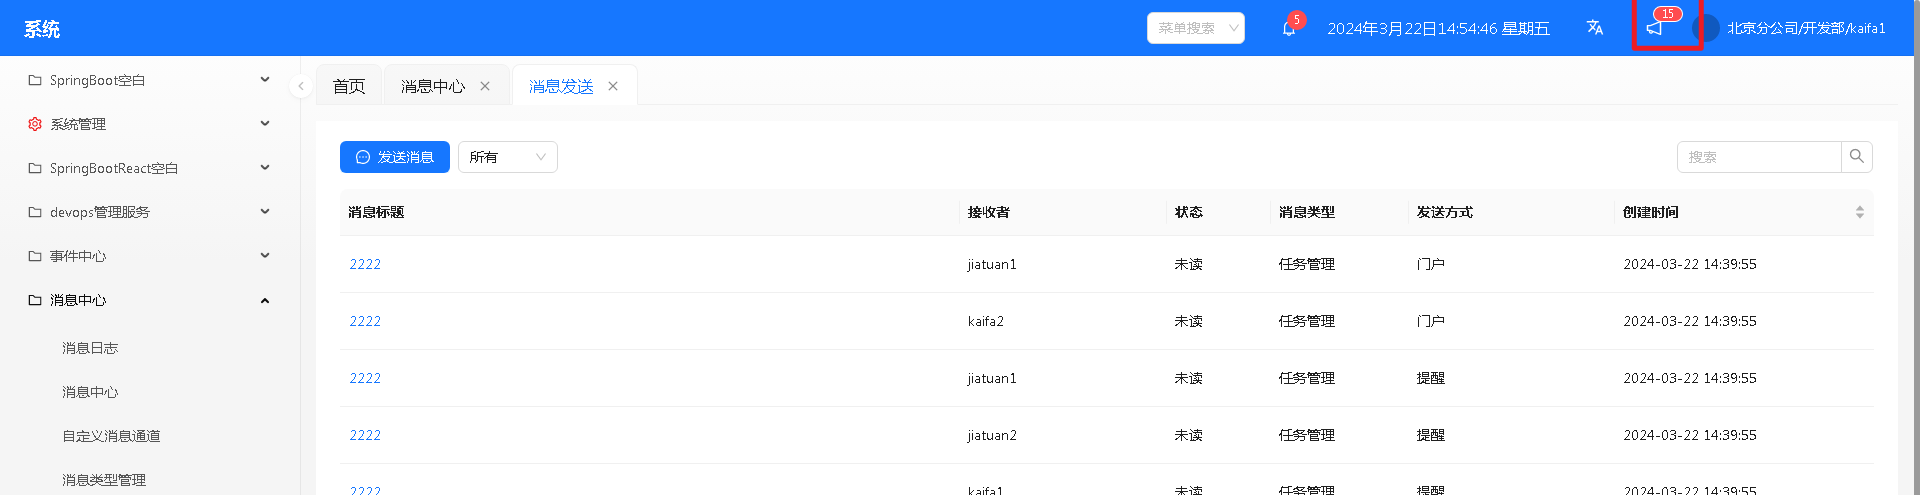
企业门户V2登录后首页需要在右上角展示当前用户任务待办任务数 图 0

实现思路

  1. 新增“ 门户自定义 ”组件
  2. 使用“@after”自定义消息获取及工具组件渲染方法执行后自定义

    自定义消息获取方法(setNotice):在消息组件接收到消息后会调用该方法,可以实现待办数动态更新 工具组件渲染方法(headerActionsRender):门户首页多个组件渲染方法

实现步骤

  1. 使用租户管理员登录系统,在“应用/服务管理”企业门户V2,开启门户定制(详细操作步骤可参考 门户V2调试

  2. 进入云端开发后,打开市场组件“门户自定义”,并开启组件定制 图 9

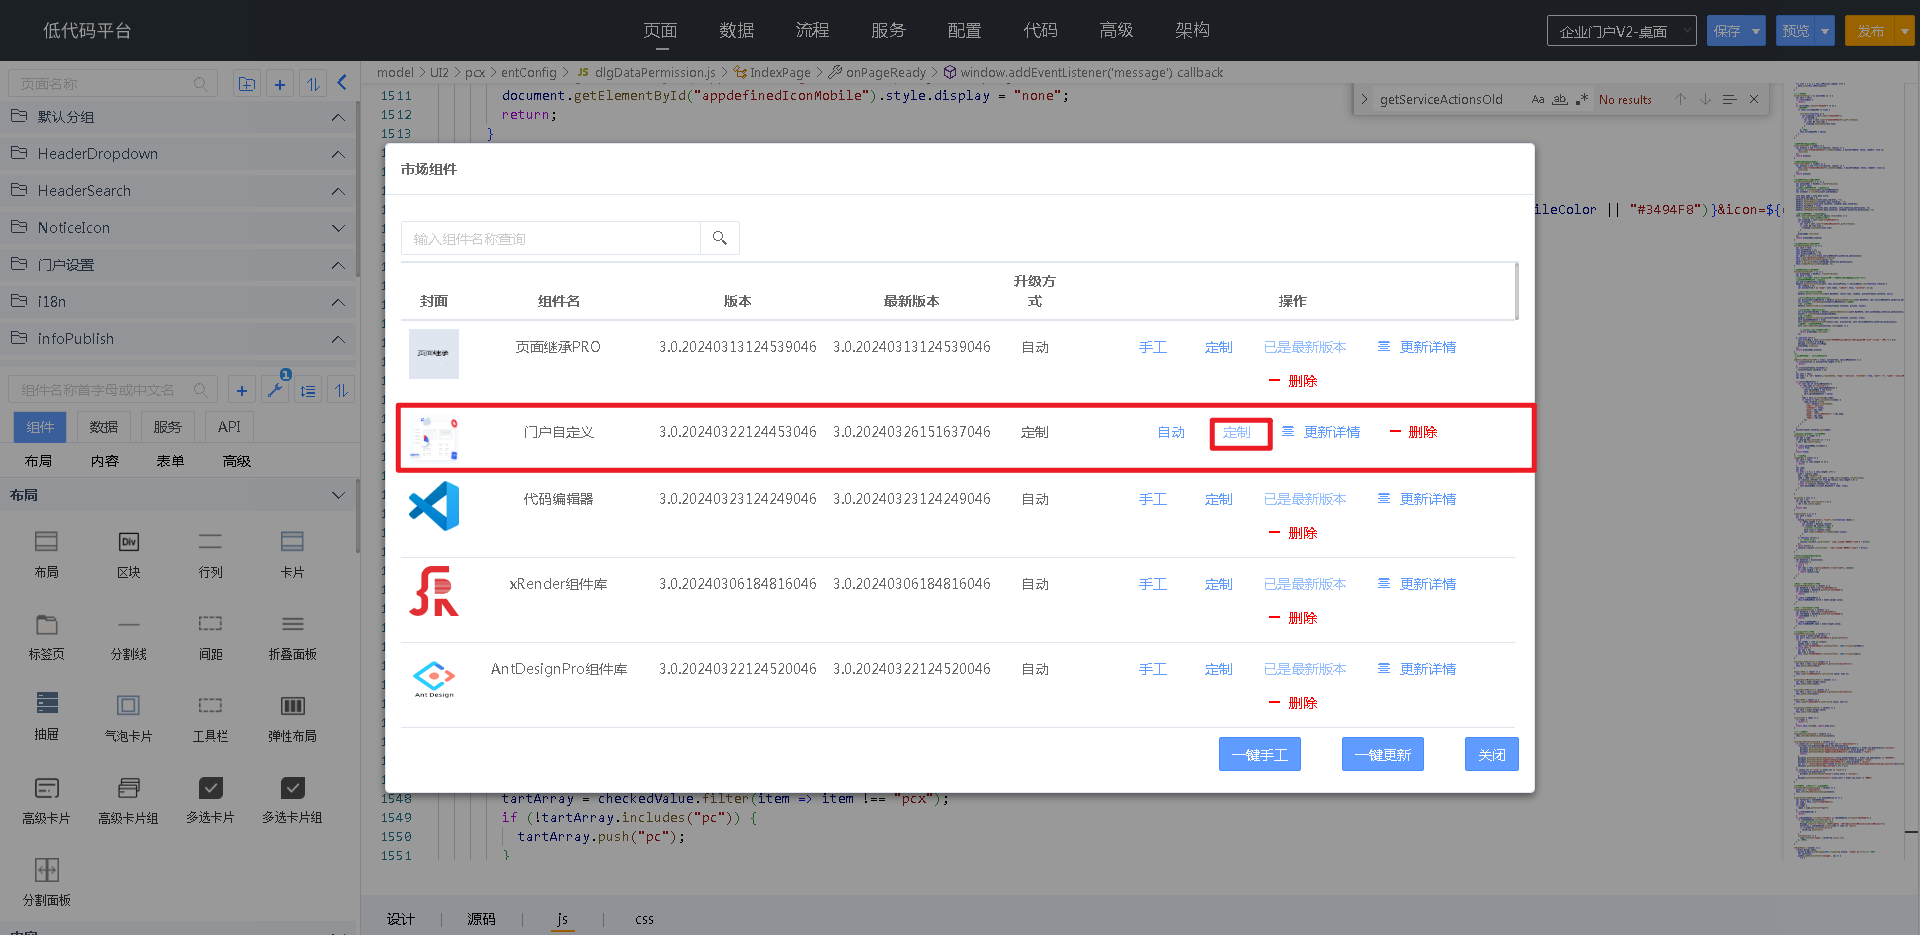
  3. 在“\UI2\comp\portalConfig\components\portalConfig”组件目录下,定制文件“portalConfig.config.js”(文件命名:组件名+“.config.js”,不能随便定义),文件内容如下所示:

    
     import { merge } from "lodash";
     import ConfigContextProcessor from 'core/framework/ConfigContextProcessor';
     import React from 'react';
     import { NotificationOutlined } from '@ant-design/icons';
     import { Badge, notification } from 'antd';
     import ProcessUtil from "$UI/comp/wfmui/components/wfmui/js/processUtil";
    
     export default {
    
         processConfigContext(configContext) {
         },
    
         async onConfigContextInit(configContextProcessor) {
             //获取当前页面
             let _this = configContextProcessor.page;
             let portalConfig = {
                 "config": {
                     "/entry": {
                         "/pcxapp": {
                             "/pcx": {
                                 "/index.w": {                               
                                     //获取消息后,调用待办接口获取待办任务数
                                     "setNotice":{
                                         "@after": (result, ...args) => {
                                             try {
                                                 //查询用户待办任务数
                                                 ProcessUtil.countTask(_this).then(({ data }) => {
                                                     //设置任务tab对应的待办任务数
                                                     _this.setState({ notificationCount: data });
                                                 })
                                             } catch (error) {
                                                 console.error("获取任务数异常", error);
                                             }
                                         }
                                     },
                                     //头部工具渲染方法执行后,添加待办案例
                                     "headerActionsRender": {
                                         "@after": (result, ...args) => {
                                             //根据组件key判断是否已存在
                                             let notices=result.filter(item=>item.key=="notices");
                                             if(notices&&notices.length==1){
                                                 return result;
                                             }
                                             //建议在元素上新增key属性,用于判断当前元素是否已存在,需注意key的唯一性
                                             let notification = <Badge key="notices" count={_this.state.notificationCount} size="small" styles={{ "root": { "color": "inherit" } }}>
                                                 <NotificationOutlined
                                                     style={{
                                                         fontSize: 16,
                                                     }}
                                                 />
                                             </Badge>
                                             result.push(notification);
                                             return result;
                                         }
                                     }
                                 }
                             }
                         }
                     }
                 }
             };
             merge(_this.configContext, portalConfig);
             ConfigContextProcessor.enhancePageAdvice(_this);
         }
     }
    
  4. 门户自定义”组件定制完成之后,重新发布即可

results matching ""

    No results matching ""

    results matching ""

      No results matching ""